
The process is super easy, just a little time consuming (I had lots of Pretty Little Liars episodes to catch up on prepared...don't judge me!)
Materials needed:

Paint brushes
Acrylic paint
Pencil
Design printed on computer paper
Satin ribbon
Crystal "gemstones"
Instructions:
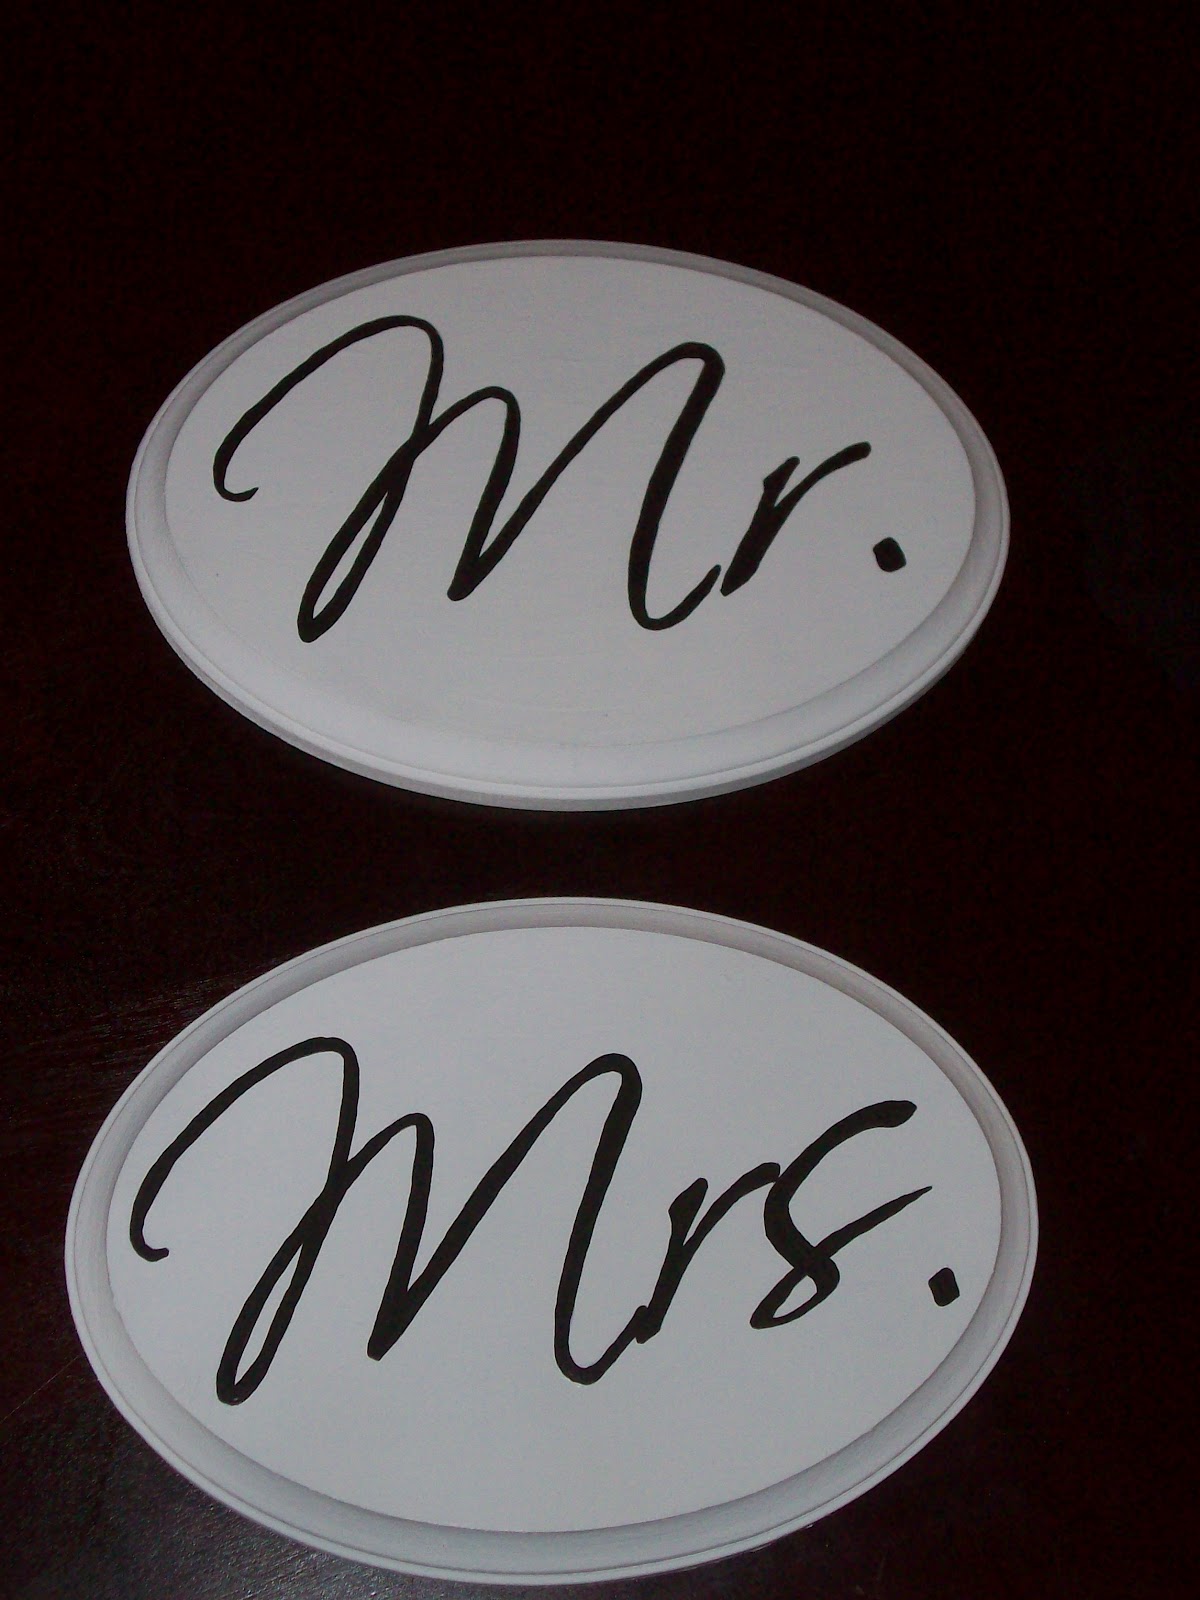
1. Print off your design onto computer paper. My wood plaques measured 8.25 by 4.5 so I used Scriptina font, size 325. Scriptina is kind of a weird font and has large line spacing, so I put it in a text box in Microsoft Word so that I could enlarge the font and have it still fit on the page.

3. Cut out the design and flip it over. On the backside of the words, start coloring over the design with a pencil. I also did this on wax paper because the ink started rubbing off onto the countertop.


5. Now, start painting. I started with the outline and then filled the rest in. I don't have the steadiest hands so I had a lot of corrections to make. I either made the lines larger to accomodate for the errors or I went back over it in white. I used a tiny brush for the outline, but then when I was making corrections I used a wider, flat brush that helped to smooth and straighten the lines.
6. Add the gemstones to the plaques as desired. I haven't done so yet. Also, cut the satin ribbon and adhere to the back of the signs. I cut approximately 2 feet of ribbon and then just taped it to the back of the plaques. Originally I was going to drill holes in the plaque and then knot the ribbon on the back, but I decided against getting the power tools out. For the wedding, I am going to actually staple the ribbon onto the back, but I left my heavy-duty stap-lah at work.


And thus the finished project! I am quite happy with how it turned out.
Cost Analysis (all items bought at Hobby Lobby):
Wooden plaques: $1.99 each ($3.98)
Paint brushes: $3.99 with a 40% off coupon ($2.39)
Crystal Gemstones: $2.99
Satin Ribbon: $5.99 with a 40% off coupon ($3.59)
Acrylic paint: on hand (but it's only a couple of dollars if you have to purchase it)
Total: $12.95 for two signs
I also have lots of gemstones and ribbon left over that I can use for future projects. The paintbrushes will also be used when I make my aisle runner. I'm SO glad that I chose to do this first because with an aisle runner, I won't be able to easily fix my errors so this was good practice.
Those look so awesome! I really want to get started on some projects since we're under the 7 month mark but we just moved into an unfinished house so I feel like I need to wait until we get settled.
ReplyDeleteI LOVE these!!! I havent even thought about making our Mr and Mrs signs yet! Your's look amaze!!!
ReplyDeleteThose turned out great!! I love them!
ReplyDeleteThanks so much for the how-to!!
ReplyDelete